As a collaboration between our blogs we are posting the translated version of Anton Biatov’s post from GIS-Naturalist.
When I travel somewhere, it often happens that I find a map of the location somewhere on a forum in an image format, a computer screenshot or an information stand of a tourist route. Of course, I want the map to be on my smartphone, and use it to navigate by the built-in GPS. So in this article, I will describe how to convert a raster image or photo into a map directly on the smartphone!
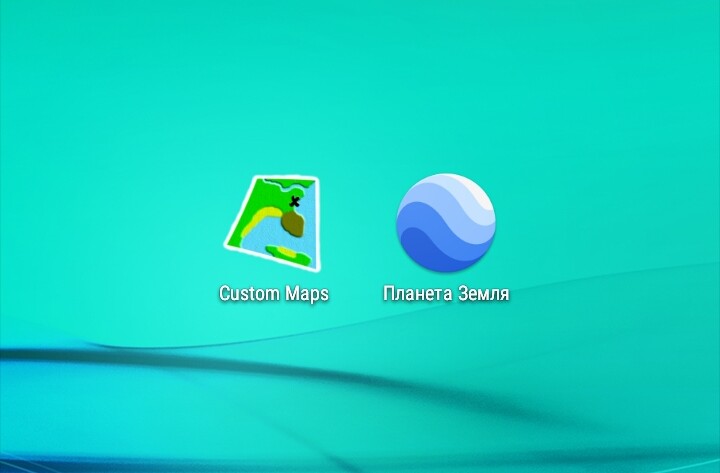
We need a smartphone or tablet running Android and two software programs: Custom Maps and Google Earth. In Custom Maps we will georeference the image, then we will navigate Google Earth using the map created.
First of all, you need to get some image from which you want to create a map. You can download it from the Internet or just take a picture on the smartphone. In the example, I will use a map of the track “Follow the Yellow Leaf” 2018, which I downloaded from the official site of the competition directly to the phone.

Launched Custom Maps. When you first start the tool, you will see a message that the program does not find any maps in its system folder.

To start creating a map, click on three dots in the upper right corner of the screen. In the menu that opens, click on “Create map”.

The list of files and folders on the device opens.

Moving through folders you need to find the image from which you want to create a map and select it.

The input screen for the basic map information we create will open. Here you need to enter the name of the map and a brief description. Then click on the <Add Point> button.

The selected image opens. Three tie points are required – these are points of a map that can be easily found on the original image and on the ground on Google’s images. You can zoom out and zoom in with the (-) and (+) buttons, which are located in the corners of the bottom of the screen. You can pan the image by touching it with your fingertip and shifting where you want it to. Two circles are visible in the center of the screen, this is the location of tie point.

You need to position the image so that the smaller circle coincides with the selected reference point. Press the <Select point> button at the bottom of the screen.
A small fragment of the image around the selected point of reference will open against the background of the Google Hybrid map. In this window, you can adjust the transparency of a fragment of an image, scale it and rotate it.
You can also switch the Google Hybrid map to a Google map. To do this, click on the appropriate button on the screen.

We pan the map and scale it. Shuffle the fragment of the image so that it coincides with the terrain in the picture. After moving the map in such a way that the point on the original picture corresponds to the terrain on Google Map, you need to click the <Accept> button.

We see that one mapping point was added in the properties of the map. Click the <Add Point> button.
The image that we are working on will open. Move the image so that the circle in the center of the screen hits the second point of reference and press <Select point>.
Combine a fragment of an image with a satellite image. And click the <Accept> button.

Now we see that there are two tie points in the properties of the map. To add a third point, click on <Add Point>.

Next, we select the third point of reference in the image.

Combine it with a Google snapshot. Press <Accept>.

In the properties of the map, you can see three tie points. Click the <Preview> button.

We see a preview of the map that we create in the background of Google Maps. Moving the “Transparency” slider we can check how well the map was georeferenced. If the quality of the binding is OK, you can click <Save>.

If we see that any of the points causes distortion of the map, then press the “←” button on your phone. Returning to the property of the map you are creating, you can click on a point and hold it with your finger. Then a menu will appear in which you can select “Adjust tie point” or “Delete tie point”. When you fix the reference points, you’ll need to click on the <Preview> button again. From the preview interface, you need to click the <Save> button.

After saving the map, you will see a list of maps available in Custom Maps. There is only one now. Click on it.

A map created opens in a black background. But you can not see the base map under it. To overlay it, you can open this map on Google Earth. To do this, you need to find the map created in the file manager on your phone. Usually created maps are located in the folder “CustomMaps” on the internal drive of the phone. Click on the KMZ file.

Your system will offer a list of installed programs to open the KMZ file. But an important point is that most Android applications can only open vector data (dots, lines, polygons) in kmz format. And only a few programs can open raster kmz maps. The most commonly used apps are Google Earth. Tap on its icon.
Dear reader, if you are known for other Android applications that can open KMZ files containing raster data, please write them in the comments to this article!

So, the map you created was opened in the Google Earth interface. And now you can navigate this map using the GPS-module built into the smartphone.

